Getting started with your Shifty Plan
Add your repositories to your Shifty Plan so you may begin running Shifts against them.
Watch Next
Enabling automation for releases
Set up your repositories to automatically release Pull Requests for new releases.
Transcript
Once you subscribe to a Shifty Plan, the first thing you'll want to do is add your repositories.
You may do this from the Shifty Plan Repositories section.
You enter the repository details as a Shift Connection String (SCS). This is concatenation of the Git service, repository, and default branch separated by colons.
The default branch is the branch Shift tracks and uses for automation. For example, master or main or develop. This is only used for the automation. You may specify a different branch when running Shifts.
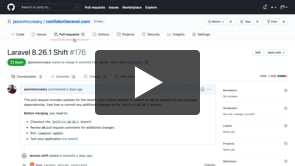
Once you add a repository, Shift will begin tracking its version and Pull Request details. In addition, you may now run any Shift included with your plan.
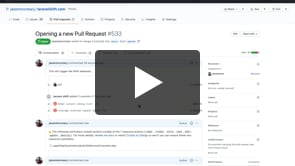
Simply run a Shift as you would normally. So long as the repo is included with your plan, you won't have to pay at checkout. If it’s not, you’ll be prompted to add the repository to your plan at checkout.
There's so much more you may do with your Shifty Plan than simply running Shifts
Check out the other videos for inviting users, enabling automation, setting up custom webhooks, and using the Shift Workbench.